How to Outbeat Blackouts with Stored Solar Energy?— A Solar Battery Guide
August 31, 2021
What are the Essential Components of a Solar Power System?
August 28, 2021The grounding is solemnly important for any electrical device that carries high voltage. Any uncertain flow of current through the circuit causes damage to the whole electrical device. In order to keep the devices safe from an unnecessary impairment, grounding is vital. Here, we have described queries about what is grounding of the circuit, how it is done, and why this is important.
As for the solar panel systems, they are certainly installed under the open sky—therefore, in case of lightning striking them, the massive electric current flown through harms the circuits. This happens because a large amount of current is exhausted and trapped in the device, then when there is no path to flow away, it damages the device. On the other hand, when the circuit is grounded, the flow of current is diverted towards a natural neutral Earth—thus, causing no harm to the devices.
Steps to Ground the Solar Panel System?
Whilst the time, the photo-voltaic system is installed, it must be the grave concern of the technicians to ground it properly. It is not totally dependent, that the owner has to call in technicians to ground the solar panel systems—basics of how to ground the solar panel system might help in the purpose. let’s move to the essentials;
- Getting Equipped
- Attaching the Solar Panel System to the Grounding Wire
- Digging the Rod into the Earth
- Keep About 6” of Rod above the Ground
- Clamping the System
- Testing the Grounding
- Use Covers (if exposed)
Tip: It is necessary to ground the solar panel system at the time of installation—delaying would be harmful to the solar system in case of any prevalent surge.
Getting Equipped
Before starting the grounding, gathering the tools keeps the procedure smooth. The required equipment for grounding of solar panel system;
- Copper Wire
- Grounding Rod
- Screws
- Clamps
- Digging shovel
- Wire coverage
- Normal Electrical Working Kit
Copper Wire
As for the copper wire, be keen about the measurement of the solar panel system to the ground where the rod needs to be dug. The width of the copper wire is likewise important, the thumb rule is—wider, better. The reason behind using a wider copper wire is the resistance, the resistance is lessened, thus, more flow of current can be captivated.
Attaching the Solar Panel System to the Grounding Wire
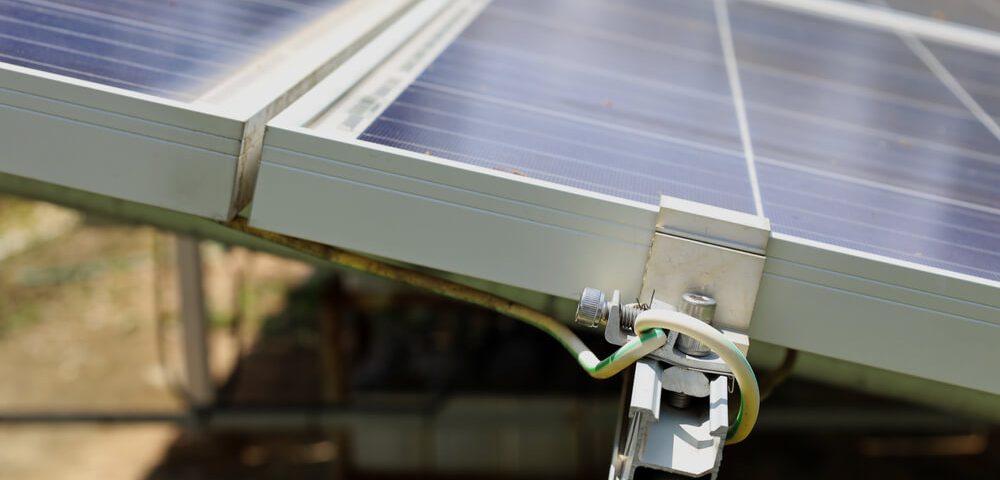
Now that you have measured the length of copper wire required for the grounding purpose, it is the step to attach one end to the solar panel system. The latest category solar systems come with a pre-installed terminal for grounding.
Related: Top Common Problems a Solar Inverter Can Face
Grounding Terminal
The advanced solar arrays are already done with this framework, the technician has just needs to tie one end of the copper wire along with it. Earthing/Grounding terminal is a premade point, where the whole structure is conductively connected to embrace any surge. They are metallically bonded among the framework together.
Manual Grounding of Array
Some of the solar models don’t have a pre-installed grounding terminal, the key way to make one is too ready a conductive frame—this should be attached to every array of PV system, then attached to a manual terminal and at-last grounded to the earth.
What to Connect with Grounding System?
Whilst grounding all the framework of PV arrays, it is keenly important to ground the negative side of the battery pack. While doing this, make sure to connect the DC negative to the ground only in a solo place. Simply, just don’t earth/ground the negative side at the array or other conductive points.
Ground your AC Generator &Solar Inverter: The generator and the solar inverter are not installed directly under the stake of lightning or surge—but stillelectrical shock from the arrays is able to damage them severely. Even, if the arrays are grounded, the surge is still able to flow through the solar inverter or AC through the inner circuits.
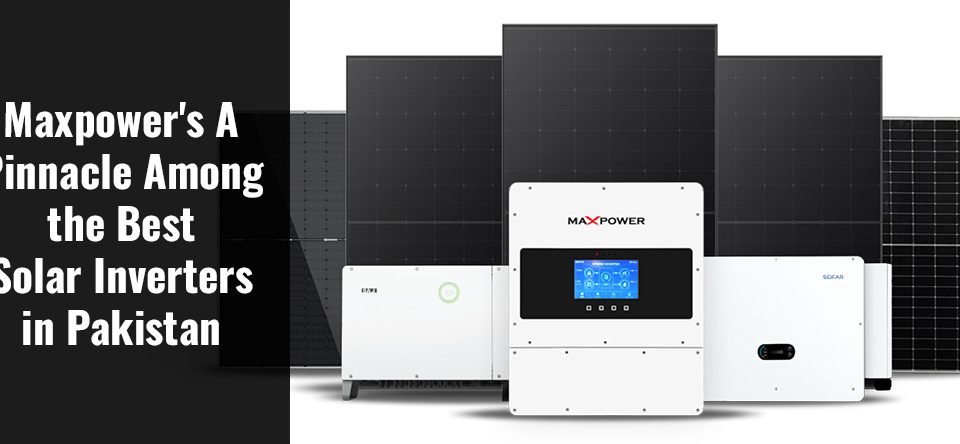
Note: Max Power provides you ultimate solar system products and solutions to ensure independent energy source—our top ones are;
- Sunbridge 1000 Solar Inverter
- JA Solar Panel 380W Monocrystalline
- Infini VII 3K Hybrid Solar Inverter with Energy Storage
Digging the Rod into the Earth
As the grounding wire is attached to the solar panel system, now, they are needed to be grounded. Thus, for this, take the wire, smartly with the shortest way possible to the grounding spot.
Choosing the Grounding Spot
Preferably, the ground must be moist so that the conductivity will be good. Lawn corners are fine, if there is more than one grounding rod needed to be dug—then, make sure they are installed at least ten feet apart.
What if the Place is Rocky or Hard?
If the area that is needed for grounding is rocky, then rather than installing the typical earthing rod, one can apply two ways;
- Use Bare Copper Wire: At least 150 feet of bare copper wire buried in the ground as an earthing object is essential for the process. Use the dampest site as possible.
- Use Metal Pipes: If there are already installed water metal pipes in the ground, then they can also be used as an earthing/grounding material.
Tip: While grounding the system, it is better to have as many leads of grounding as much possible, as it is safer and more effective.
Grounding Rod
While selecting the right grounding rod for the purpose—for minimal grounding a copper-plated rod of almost 7 to 8 feet will be good, especially, if the ground is moist. In dry conditions, the same several rods are essential for the grounding purpose.
Tip: For commercial applications, whole copper rods are necessary, otherwise, several plated rods are required for safe earthing.
Keep About 6” of Rod above the Ground
While installing the grounding rod in the ground, make sure to keep it firm and check the clamps periodically. On the other hand, ensure that the grounding rod stays at least 6” out of the ground.
Clamping the System
Once the grounding wires are set to the rods or earthing materials, they are needed to be clamped properly. Make sure to cross-check several times, in few cases, small negligence of improperly tied clamps over the rods can cause a surge to damage the device.
Related: Effective Ways to Improve Solar Panel Efficiency
Testing the Grounding
Before turning on the solar panel system, take a multi-tester and check the leakage to the ground—attach the negative probe on the battery negative and positive with the ground system. The tester must be set on the highest “milliamp” scale. If the tester shows fluctuation, then you need to ground the negative battery side. After grounding the negative side, if you still catch the readings, check the system for something conductive on the positive side contacting the ground.
Note: If the readings are very low, and this is because they are detecting random radio station signals.
Use Covers (if exposed)
If the ground system wiring is naked or exposed to the external environment in any circumstance, then make sure to use proper covering. Not only it will extend the life of the ground system but the efficiency will be sustained properly.
How Earth Grounding is Supposed to Take Place?
The electricity has a nature to follow the path of least resistance, thus, while in a device, the flowing path is generally unknown. This nature is helpful to prevent damage when the surge happens. The simple principle is to divert the surge/electrical flow to the earth. Grounding the system is mean to this way, thus, diverting the surge towards the earth—the whole of this prevents certain harm.


